Directory Photos
If you do not have photo editing software available to you, try one of these image editors.
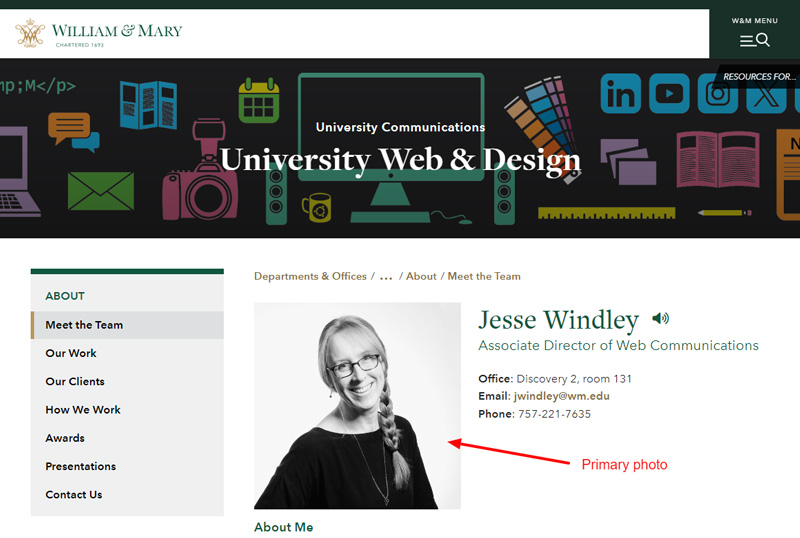
Step 1: Create and upload a primary photo
This larger photo will appear on the directory page. A recommended size is 200 x 200 or 200 x 300 pixels. The image doesn't have to be square, but it's a good idea to limit the image width to about 300 pixels.
- Only use text-free graphics and photos to communicate in images unless it is a logo or similar brand mark that is not trying to convey content. This ensures that the text can be resized, read by screen readers, and adapted to different user needs. For more on our specific guidelines, review the Web Accessibility help page.
- Crop and save your photo. We recommend .webp or .jpg for all photos and for graphics without a transparency. For graphics with transparency, we recommend .webp or .png. Save your image with a name using no spaces that is all lowercase.
- In Cascade, upload your image.
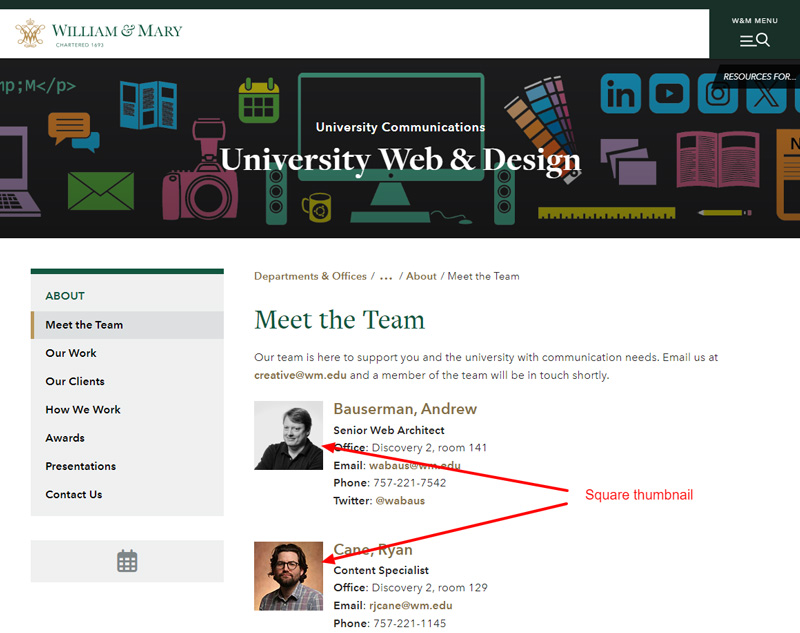
Step 2: Create and upload a square thumbnail
- The photo thumbnail will appear on the directory listing page. (Here's an example).
- Your thumbnail image must be cropped square (100 x 100 or 200 x 200 pixels is recommended). To simplify your upload process, save your image with a name using no spaces that is all lowercase.
- In Cascade, upload your image.