
Research Computing JupyterHub
URL: https://notebooks.sciclone.wm.edu
Note: This site is distinct from the jupterhub.wm.edu site which exists fully on the AWS cloud and has no access to RC filesystems, contains no GPU resources and is reserved for class use.
- Access
- Adding packages to the notebook environment
- Creating or using a pre-existing conda environment in the notebook
Before you can access the JupyterHub you must have:
- A W&M userid
- An HPC/RC account (request RC/HPC account)
- A message to [[w|hpc-help]] requesting access (access to this resource is not given by default).
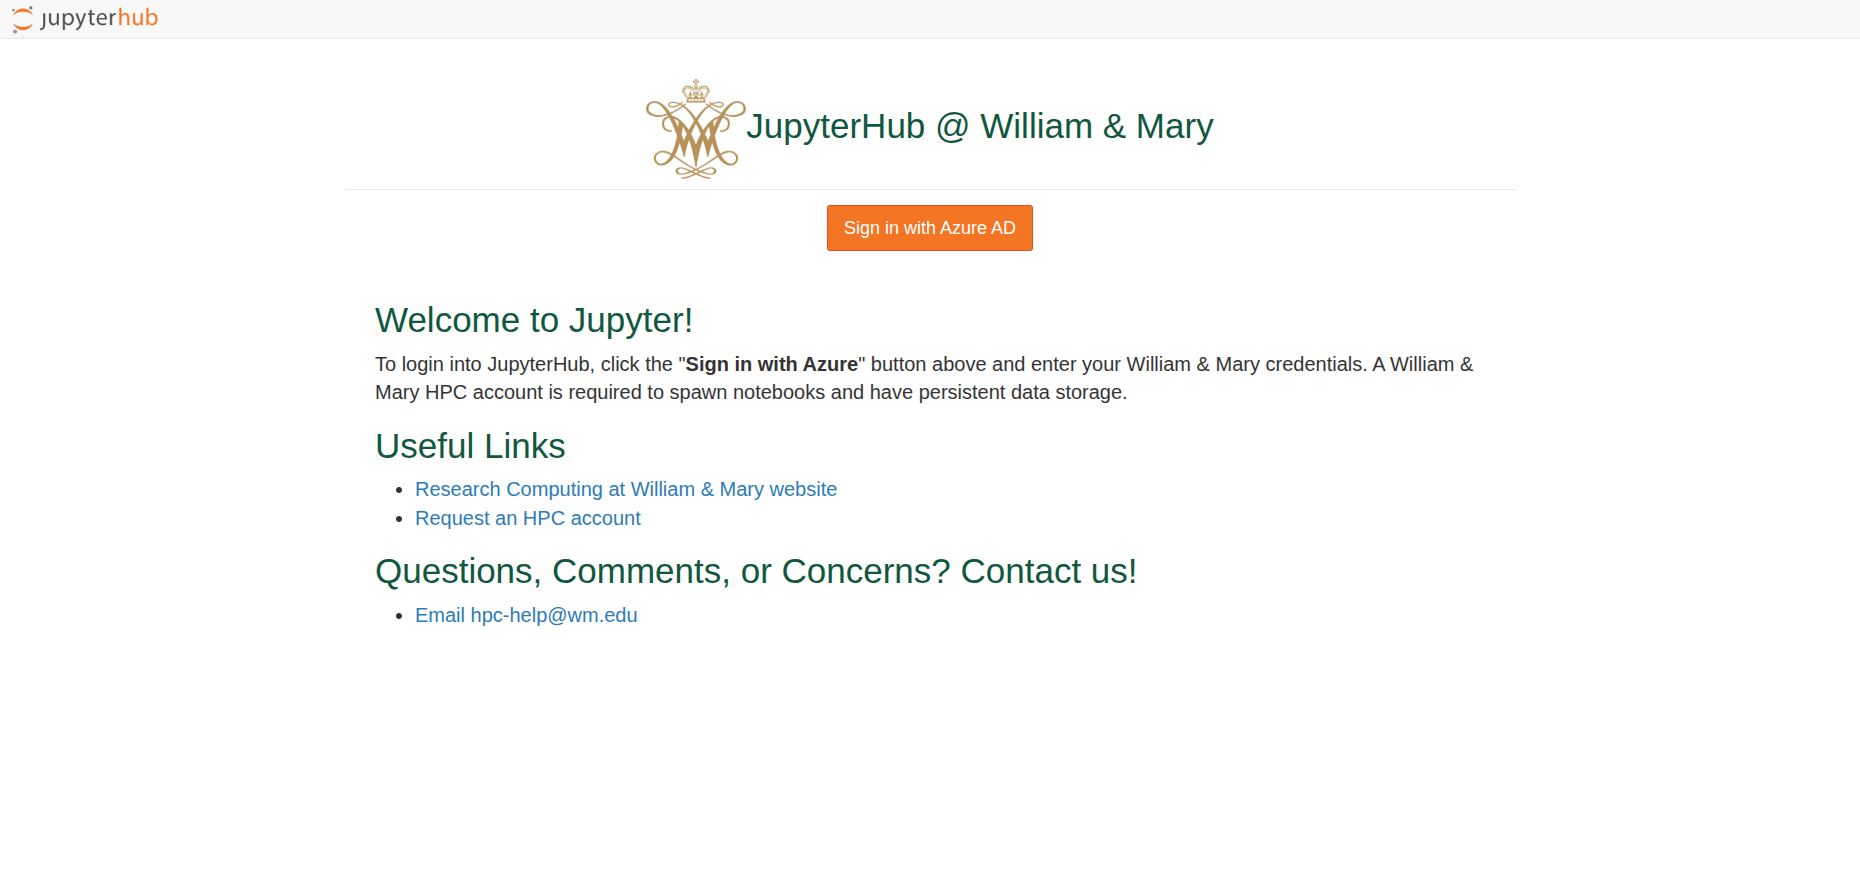
When you log into notebooks.sciclone.wm.edu, you will be asked to sign in using your W&M userid/passwd:
Once logged in, you will see the notebook spawning page. Most users will see just the following menu. Other users have special notebooks which have been added for their account only.
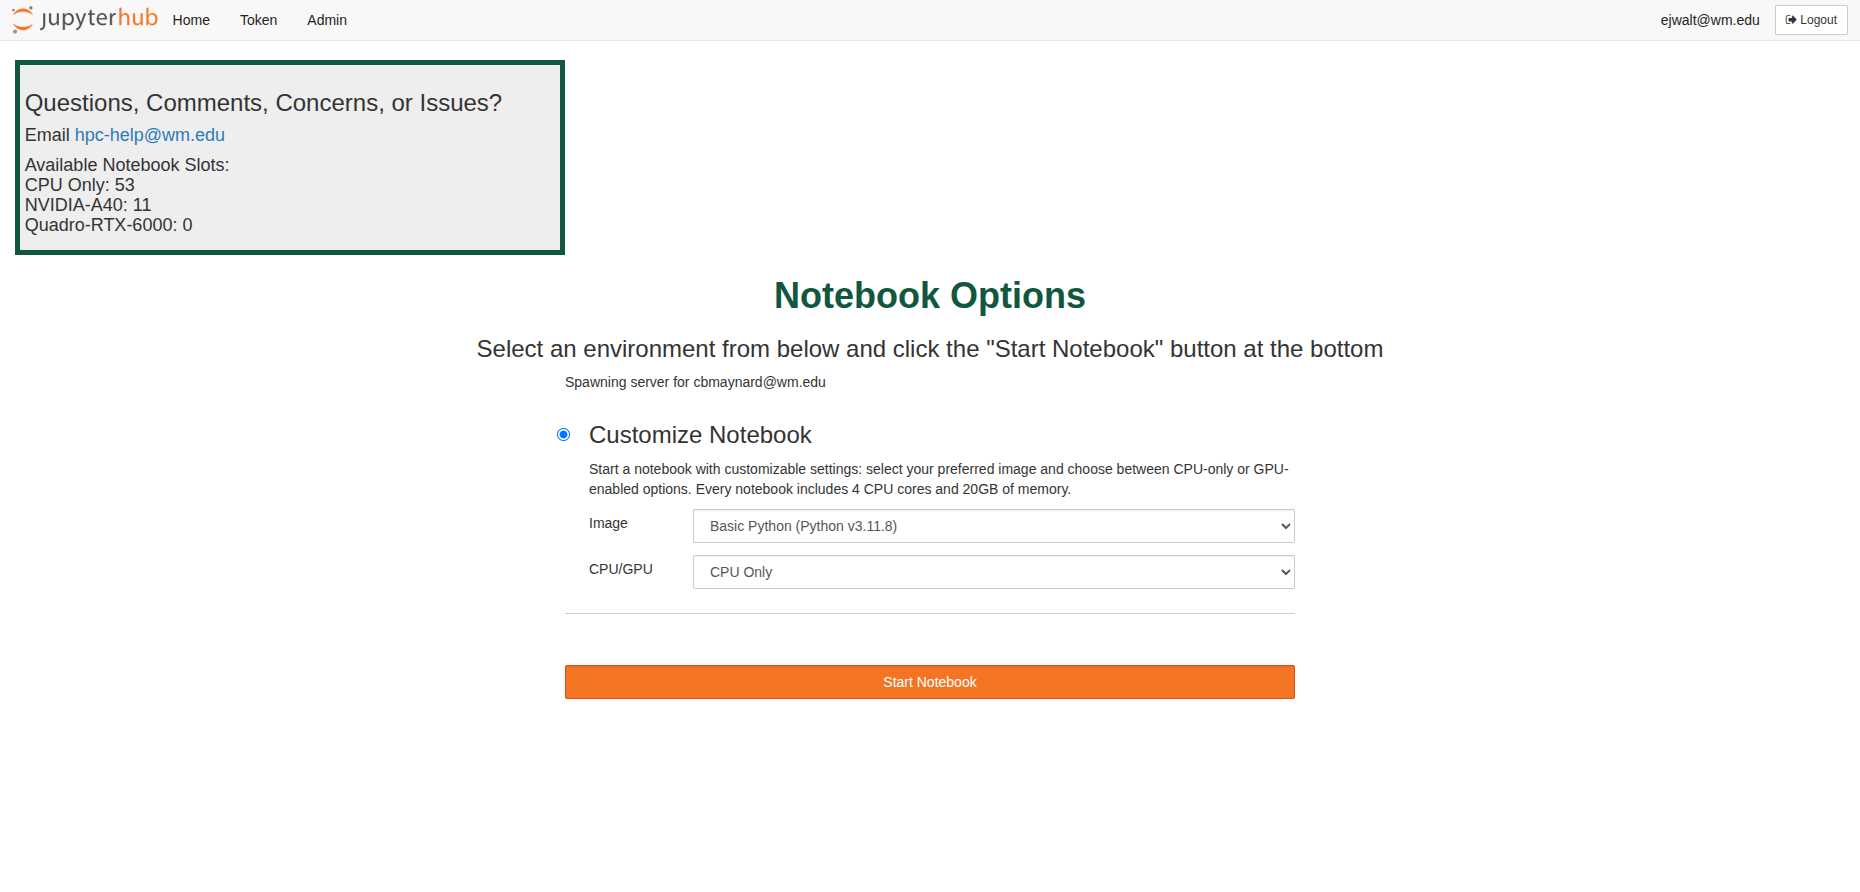
The main options are the Image and CPU/GPU drop-down menus. Currently, there are three notebooks available:
- Basic Python (Python v3.11.8)
- Data Science Stack (Python v3.11.8, R v4.3.3, and Julia v1.10.3)
- Pytorch (Python 3.11.8 and Pytorch v2.3.1)
For CPU/GPU, the options are CPU only, or a type of GPU. Users get 4 CPU cores, 20 GB of memory, and if selected, 1 GPU.
Also on the top left of the page is the current available resources for CPUs and GPUs. If your notebook never spawns, it could be because those resources aren't available.
Once you start the notebook, you will be presented with Launcher screen:
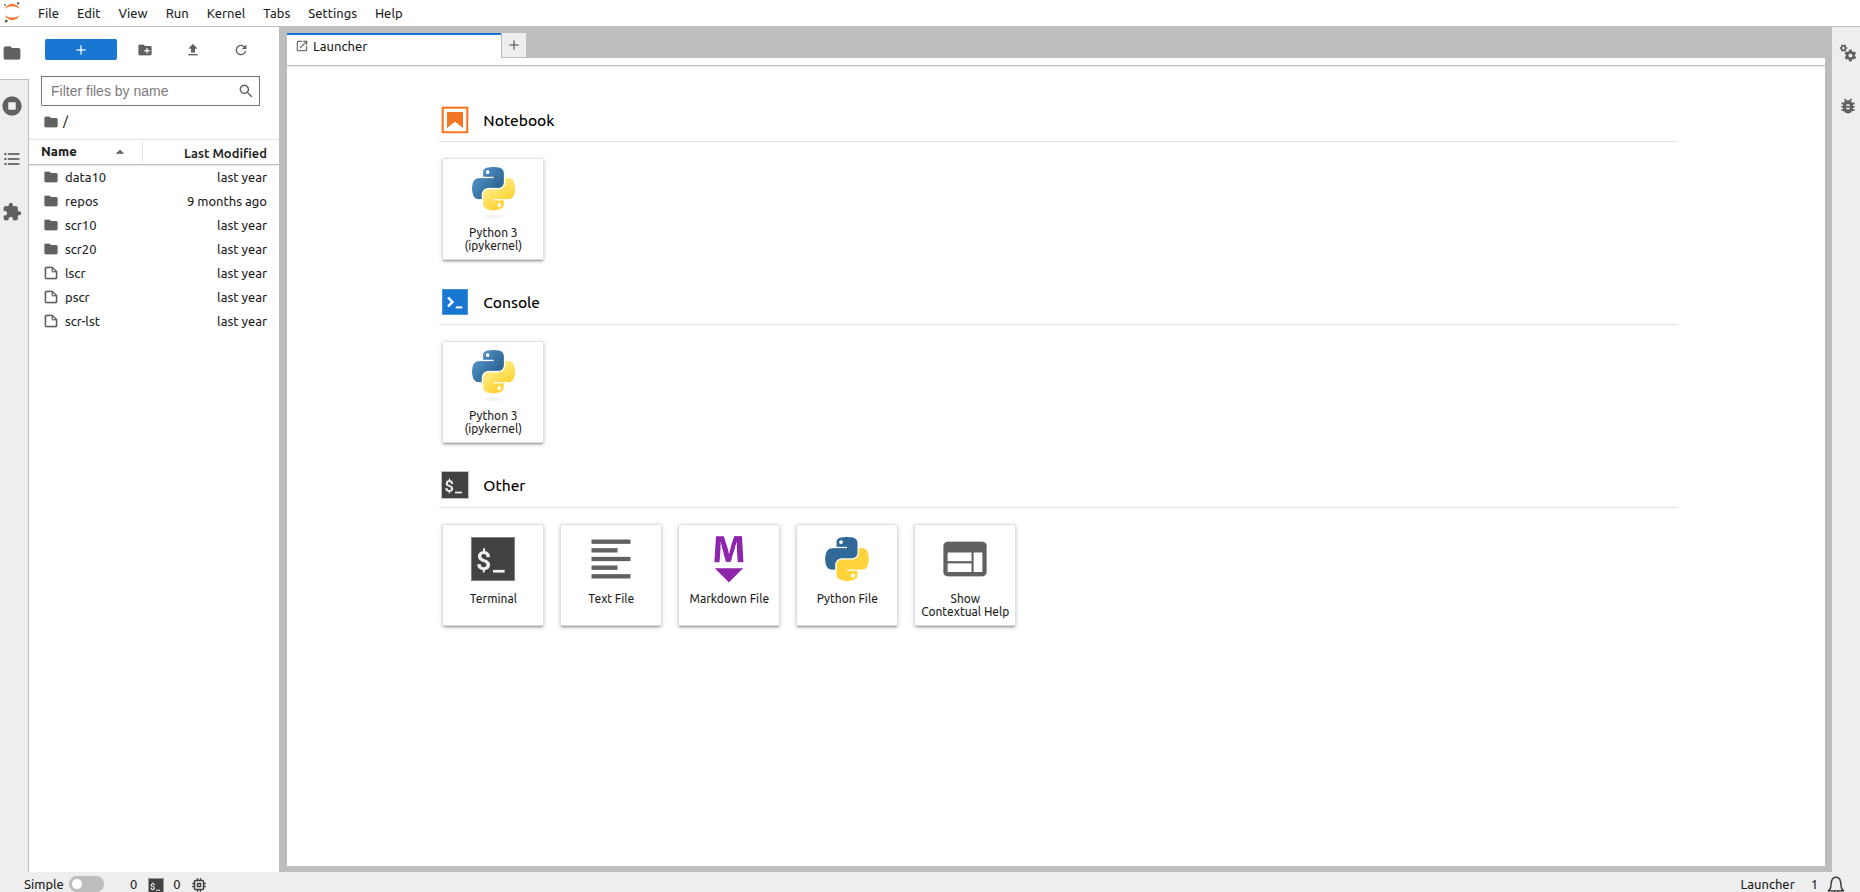
On the left side of the screen is the file panel. Note that this is your regular home directory which is accessible from any of the clusters. Furthermore, /sciclone/scr10/<user> , /sciclone/scr20/<user> and /sciclone/data10/<user> are available via symbolic links in your home directory.
Please email [[w|hpc-help]] if you can't get to these folders from this menu.
Extend your the notebook python environment from the jupyter notebook:
The best tool to use to add packages to an existing notebook environment is to use the built-in python command pip
There are two ways of doing this, temporarily for the current session or permanently so it can be used in the current and future session:
Temporary:
to install a python package just for the current session use:!pip install <package>
This will install the package into the container environment and will not exist after you end the current session. Here is an example using the package "rasterio":
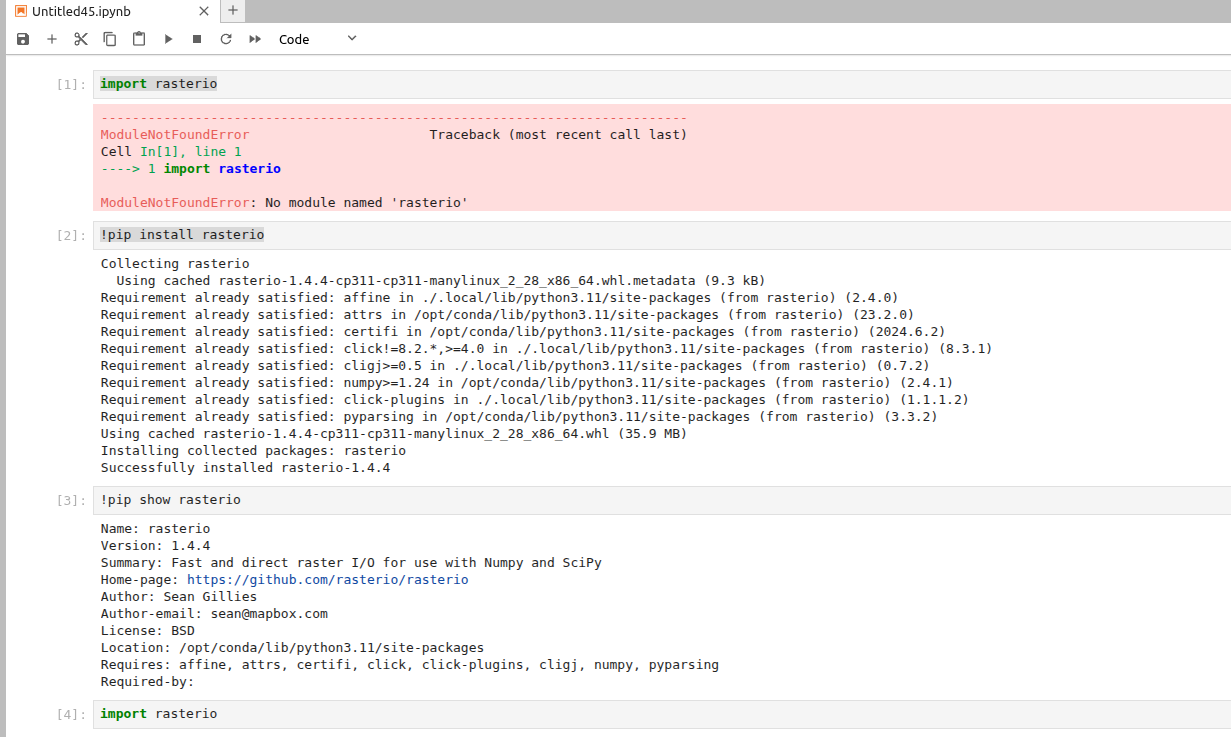
The '!' indicates that this command should escape the current jupyter environment (it is not python code). In the example above, the command
!pip show <pacakge>
Shows the location of the package. Here it is /opt/conda/lib/python3.11/site-packages. In our jupyterhub, the /opt/conda path lives inside the container and any changes to this path are discarded once the session ends.
Permanent:
To install a package for use anytime the same jupyter notebook is used, add the
--user
option to the pip command. First, we unistall the previous rasterio (very important: pass -y to command so it does prompt you to push 'y'. If you do, you will have to stop the current command and rerun with -y)
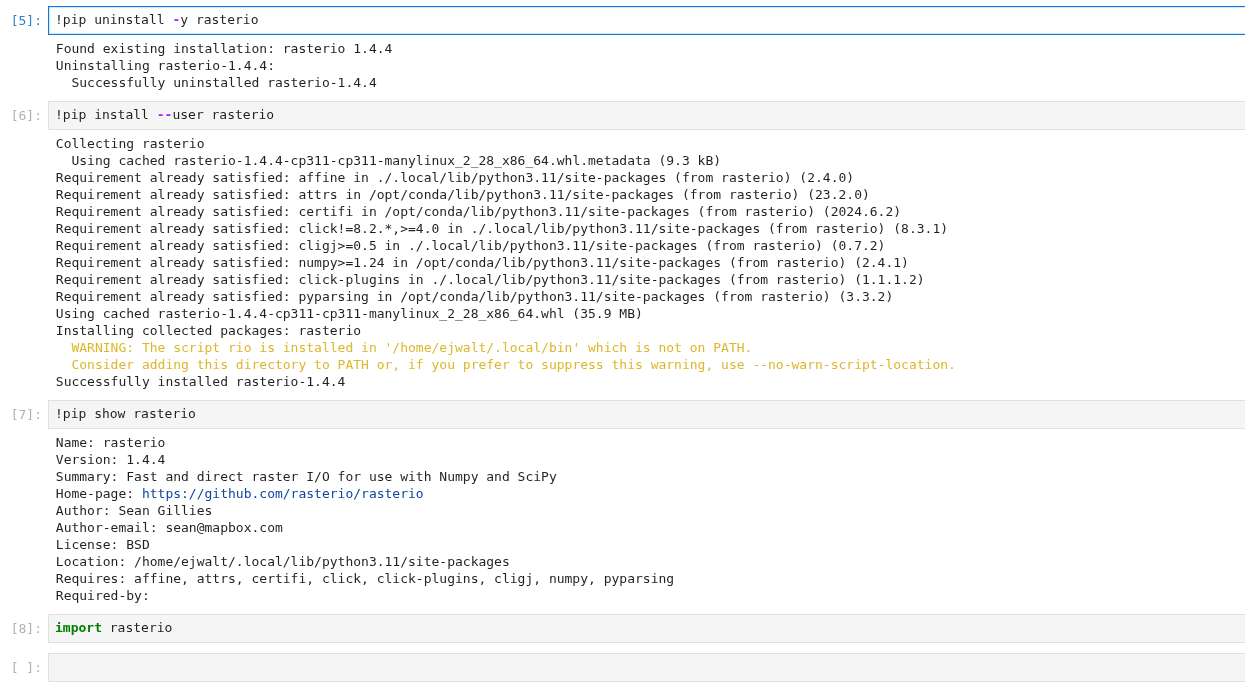
Again, you can see where the package is installed with !pip show. Here we see it was installed in my home directory. This means that it will be there for all jupyter sessions after this.
Important: Before you can use this new package, however, you must restart the kernel from the 'kernel' menu at the top of the screen.
Create or use a prexisting conda environment in jupyter
To create a conda environment from scratch in the notebook and add a button for this environment to the launcher page:
- Open a Terminal environment from the notebook by clicking on the "Terminal" button on the bottom of the Launcher screen
This will place you in a bash shell in your RC home directory (/sciclone/home/<user>) (ignore any errors about bashrc not being available) - Following the RC python anaconda guide create a new conda environment with the command:
conda create -n testenv - Once the environment is created, activate it:
conda activate testenv - run all of the conda install commands you need to create the environment:
conda install <packages> - install the ipykernel package:
conda install ipykernel
- Finally, run the command to add a button to the launcher page for this environment:
python -m ipykernel install --user --name=testenv
To simply add a button for a prexisting conda environment:
- Open a Terminal environment from the notebook by clicking on the "Terminal" button on the bottom of the Launcher screen
- activate the environment:
conda activate myenv - install the ipykernel package:
conda install ipykernel
- Add the environment to the launcher:
python -m ipykernel install --user --name=myenv